Blog
Homemade Chastity Cages: DIY Guide for Beginners

Important Safety Notice: Homemade chastity cages may pose safety risks if constructed or used incorrectly. Always choose body-safe materials, avoid sharp edges, and make sure the device can be removed quickly in an emergency. If you experience pain, numbness, swelling, or skin irritation, stop using the device immediately.
What Is a Homemade Chastity Cage?
A homemade chastity cage is simply a DIY alternative to a commercial chastity device. Instead of buying a ready-made cage, some people choose to build their own using materials like silicone, plastic, leather, or 3D-printed parts.
The main appeal is customization—you can create a design that fits your body, budget, and preferences. However, safety should always come first, as homemade devices may not offer the same reliability as professionally manufactured options.

Why Do People Make Homemade Chastity Cages?
For DIY enthusiasts, building a homemade cage can also be a creative project that allows them to experiment with different materials and concepts. However, while customization is a major advantage, safety and comfort should always remain the top priorities.
● Lower Cost
Commercial chastity cages can range from budget-friendly models to premium custom designs. A homemade version may reduce costs by using readily available materials.
● Custom Fit
One of the biggest advantages of DIY designs is the ability to create a device based on personal measurements, which may improve comfort and fit.
● Design Flexibility
DIY builders can experiment with different shapes, materials, and locking methods to create a design that matches their preferences.
● A Hands-On Project
For some people, the appeal isn’t just the final product. Designing and building a homemade chastity cage can be an interesting DIY challenge that combines creativity and problem-solving. If you enjoy creating your own adult DIY projects, you may also want to learn more about making a Homemade Pocket Pussy using simple materials and practical design tips.

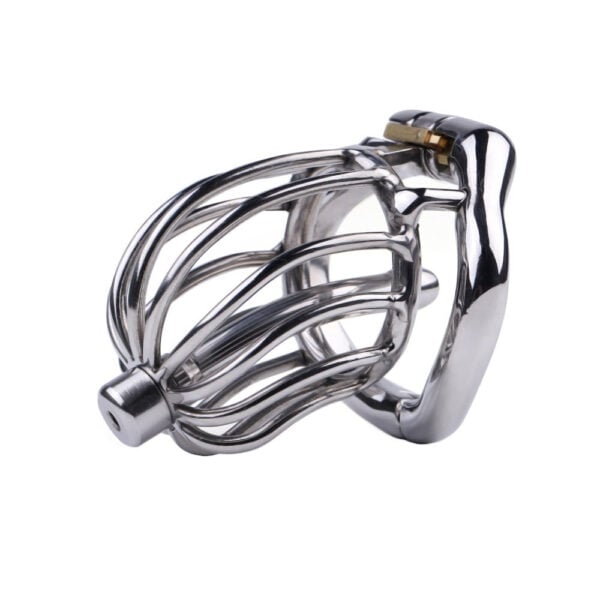
Choosing Materials for a Homemade Chastity Cage
The materials used in a DIY chastity cage can have a major impact on comfort, durability, and safety. While homemade devices are generally not recommended, some materials are considered more suitable than others.
Materials Often Used in DIY Designs
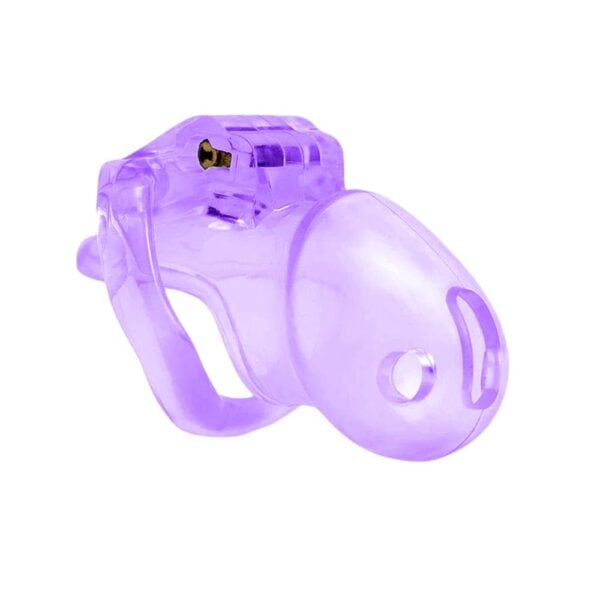
Silicone
Lightweight, flexible, and generally comfortable when made from high-quality materials.
Thermoplastics
Durable and easy to shape, making them a popular choice for DIY projects.
3D-Printed Materials
Highly customizable, but printed parts should be carefully finished to remove rough edges and visible layer lines.
Leather
Easy to work with, but more difficult to clean and maintain than non-porous materials.
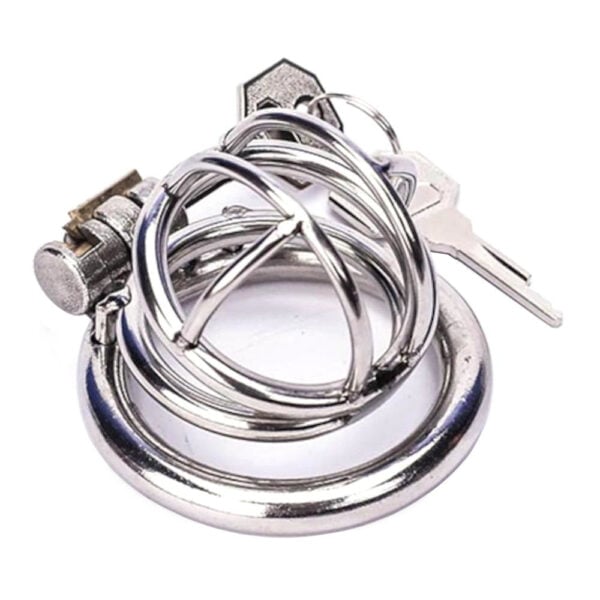
Materials to Avoid
- Rust-prone metals
- Brittle plastics
- Toxic industrial materials
- Sharp household objects
- Unknown or unlabeled materials
Material Comparison
| Material | Comfort | Durability | Cleaning | DIY Difficulty |
| Silicone | High | Medium | High | Moderate |
| Thermoplastic | Medium | High | Medium | Moderate |
| 3D Printed Plastic | Medium | High | Medium | Advanced |
| Leather | Medium | Low | Low | Easy |
Important: Regardless of the material used, all surfaces should be smooth, easy to clean, and free from sharp edges or pressure points.

How to Make a Chastity Cage: Step-by-Step Guide
Since skin sensitivity varies from person to person, consider performing a simple patch test before prolonged use. If any redness, itching, or irritation develops, discontinue use immediately.
Step 1: Take Accurate Measurements
Start by taking measurements while in a relaxed state. Pay close attention to the ring size and overall cage length, as an incorrect fit can lead to discomfort and unnecessary pressure.
Step 2: Choose Suitable Materials
The material you choose will affect comfort, durability, and hygiene. Many DIY builders prefer silicone, smooth plastic, or properly finished 3D-printed components because they are lightweight and easy to customize.
Step 3: Design the Cage
Create a simple design that provides enough room for comfort while allowing airflow and easy cleaning. Avoid overly complicated designs during your first build.
Step 4: Build a Prototype
Before creating a final version, test a basic prototype to evaluate the fit and identify any areas that may need adjustment.
Step 5: Smooth and Finish the Surface
Carefully remove any rough edges or sharp points. A smooth finish is essential for reducing friction and improving comfort.
Step 6: Test the Fit
Wear the device for a short period and check for pressure points, irritation, or restricted circulation. If any discomfort occurs, make adjustments before further use.
Step 7: Prioritize Safety
Always ensure the device can be removed quickly in an emergency. Regular cleaning and routine inspections are also important for maintaining hygiene and comfort.
When Not to Use a DIY Device?
Avoid using a homemade device if you cannot ensure proper fit, body-safe materials, and quick emergency removal. DIY designs should also be avoided if you have skin irritation, allergies, circulation issues, or any discomfort during testing.
Why We Don’t Recommend Homemade Devices
While DIY devices may appear to be a cheaper or more customizable alternative, they often come with significant safety concerns.
Material Safety Is Hard to Verify
Many DIY materials are not designed for prolonged skin contact. Some plastics, adhesives, coatings, or metals may cause irritation, allergic reactions, or other unwanted skin issues over time.
Rough Edges Can Cause Discomfort
Homemade devices often contain small imperfections that are easy to overlook. Even minor rough spots or sharp edges can create friction, discomfort, or skin irritation during wear.
3D-Printed Parts May Not Be Completely Smooth
Although 3D printing is a popular DIY method, printed parts often have visible layer lines and surface imperfections. Without proper finishing and polishing, these areas may feel rough against the skin and become uncomfortable during extended use.
Achieving the Right Size Can Be Difficult
Proper sizing is one of the most important factors for comfort and safety. A device that is too tight may create unnecessary pressure, while one that is too loose may not fit as intended. Accurate measurements alone do not always guarantee a comfortable fit.
Emergency Removal May Not Be Easy
Many DIY designs lack the safety features found in commercial products. If a device cannot be removed quickly when needed, it may create unnecessary risks in emergency situations.
Commercial Products Are Usually Safer
Professionally manufactured devices are generally designed with body-safe materials, smoother finishes, and more refined sizing options. For most people, they offer a safer and more reliable experience than a homemade alternative.

Frequently Asked Questions
Are homemade chastity cages safe?
We do not recommend homemade chastity cages. DIY devices may pose safety risks if they are improperly designed, poorly fitted, or made from unsuitable materials. Commercially manufactured products are typically a safer and more reliable option.
What materials should never be used?
Rust-prone metals, brittle plastics, toxic industrial materials, and sharp household objects should be avoided due to potential safety and hygiene concerns.
How often should a DIY cage be cleaned?
Regular cleaning is essential. The exact frequency depends on the design and material, but maintaining good hygiene should always be a priority.
Why do many people choose commercial cages instead of DIY designs?
Commercial cages generally offer better comfort, more reliable sizing, improved hygiene, and additional safety features, making them a preferred option for many users.
Conclusion
While homemade chastity cages can be a fun DIY project, they aren’t without risks. Material choice, sizing, and overall construction all affect safety and comfort.
In most cases, a professionally made device will be the safer and more practical choice. Whatever route you choose, always put safety first.
-
Flat Chastity Cage Inverted Chastity Cage Device
Price range: $49.99 through $59.99 -

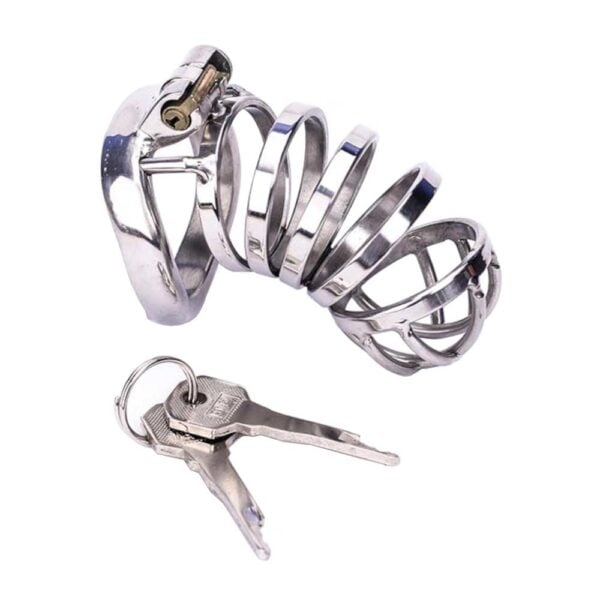
Stainless Steel Metal Male Chastity Cage
$46.99 -
The Small Sad Pink Excuse Chastity Cage
Original price was: $34.99.$24.99Current price is: $24.99. -
Pleasurable Pain Stainless Steel Urethral Sounding Chastity Cage – Heavy Duty Cock Restraint
$59.99 -
The Cock Cage of Shame Extra Small Metal Chastity Cage – Micro Half-Moon Male Restraint
$49.99 -
The Little Nub ABS Resin Micro Male Chastity Cage – Lightweight Stealth Cock Device
$14.90 -
The Undelivered Package Stainless Steel Chastity Cage – 135mm Urethral Dilator Tube
Price range: $39.99 through $43.99 -
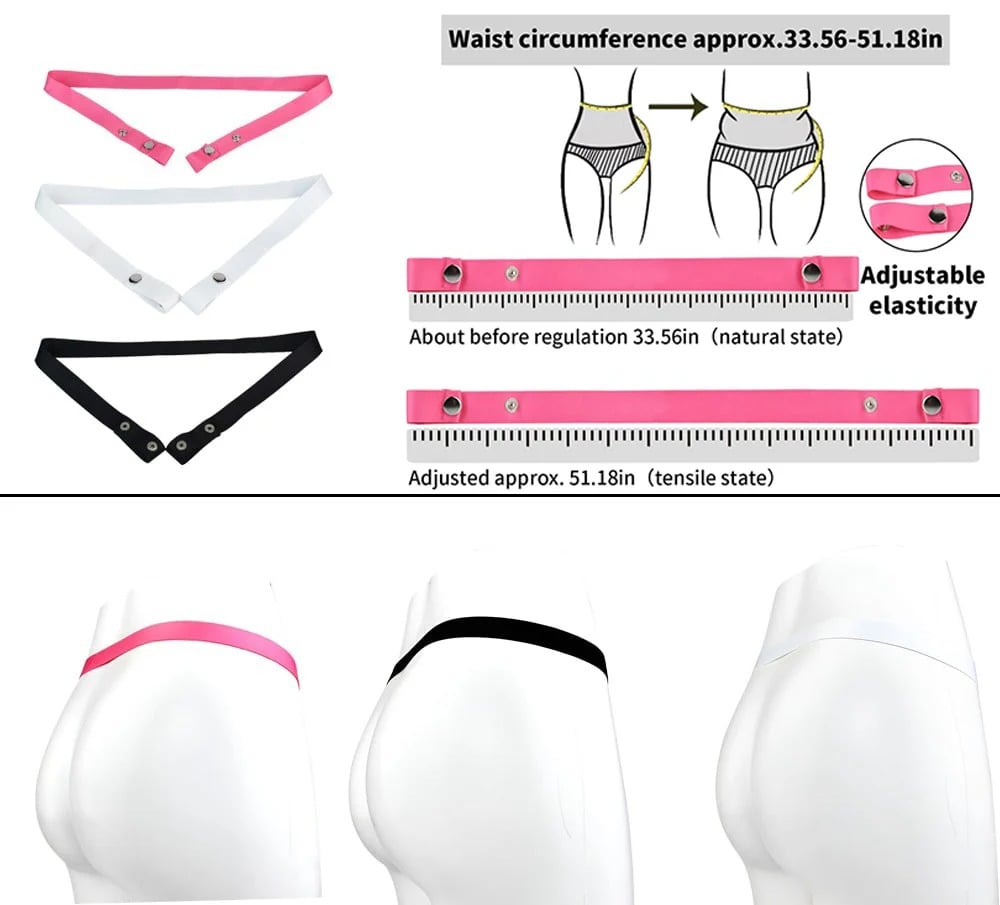
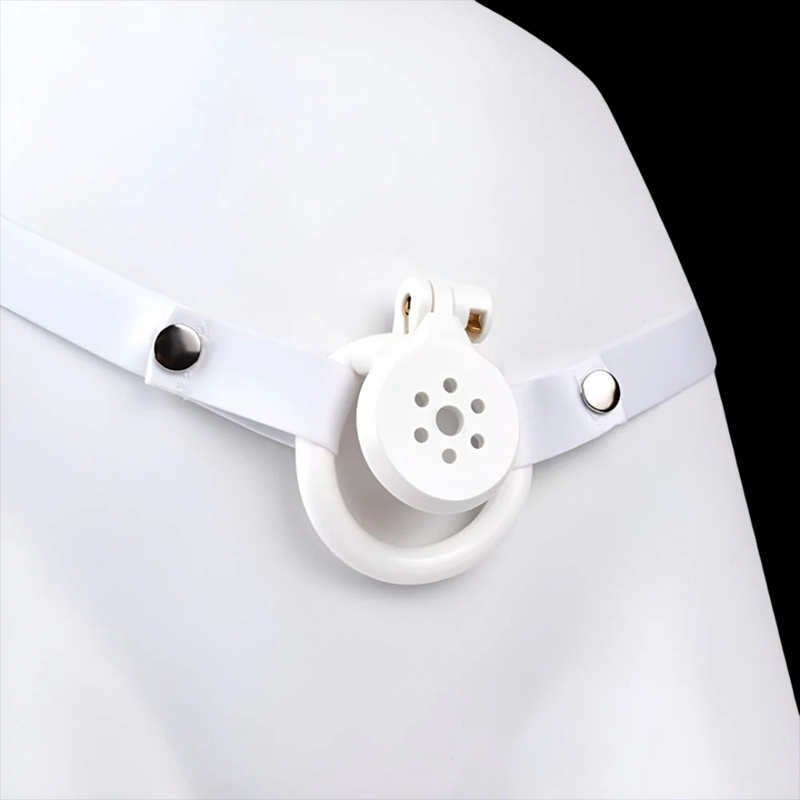
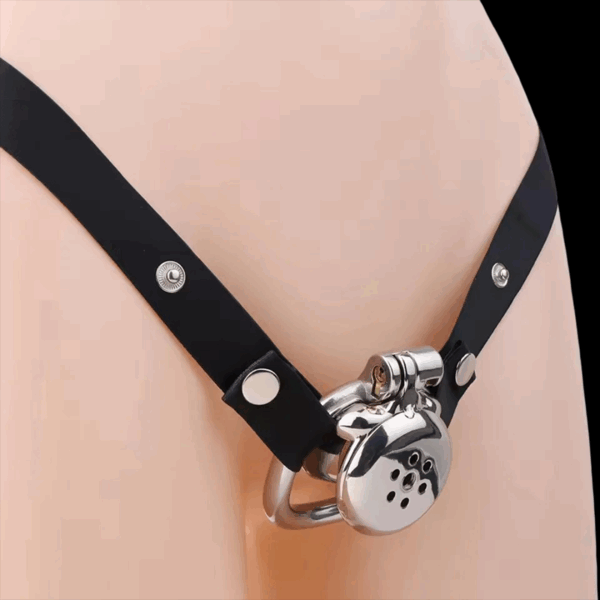
Soft Silicone Sissy Chastity Device Kit – Comfortable Daily Wear Cock Cage
Price range: $19.99 through $36.99